Anyone who knows me, knows that when my husband and I have a project, we will at the very least, attempt to do it ourselves. After a bit of trial and error we do know our limits. For instance, we try to avoid large concrete projects and my husband Gary is not allowed to paint. Other than that, we will try just about anything at least once.
Our latest project involved refacing our fireplace. We built the fireplace when we moved into the house almost ten years ago. It is a gas fireplace and it was meant to augment our aging heating system and conserve space over the home’s previous heat source, a large and unwieldy wood stove which was not only dirty, but because of allergies, I had bronchitis most of that winter.
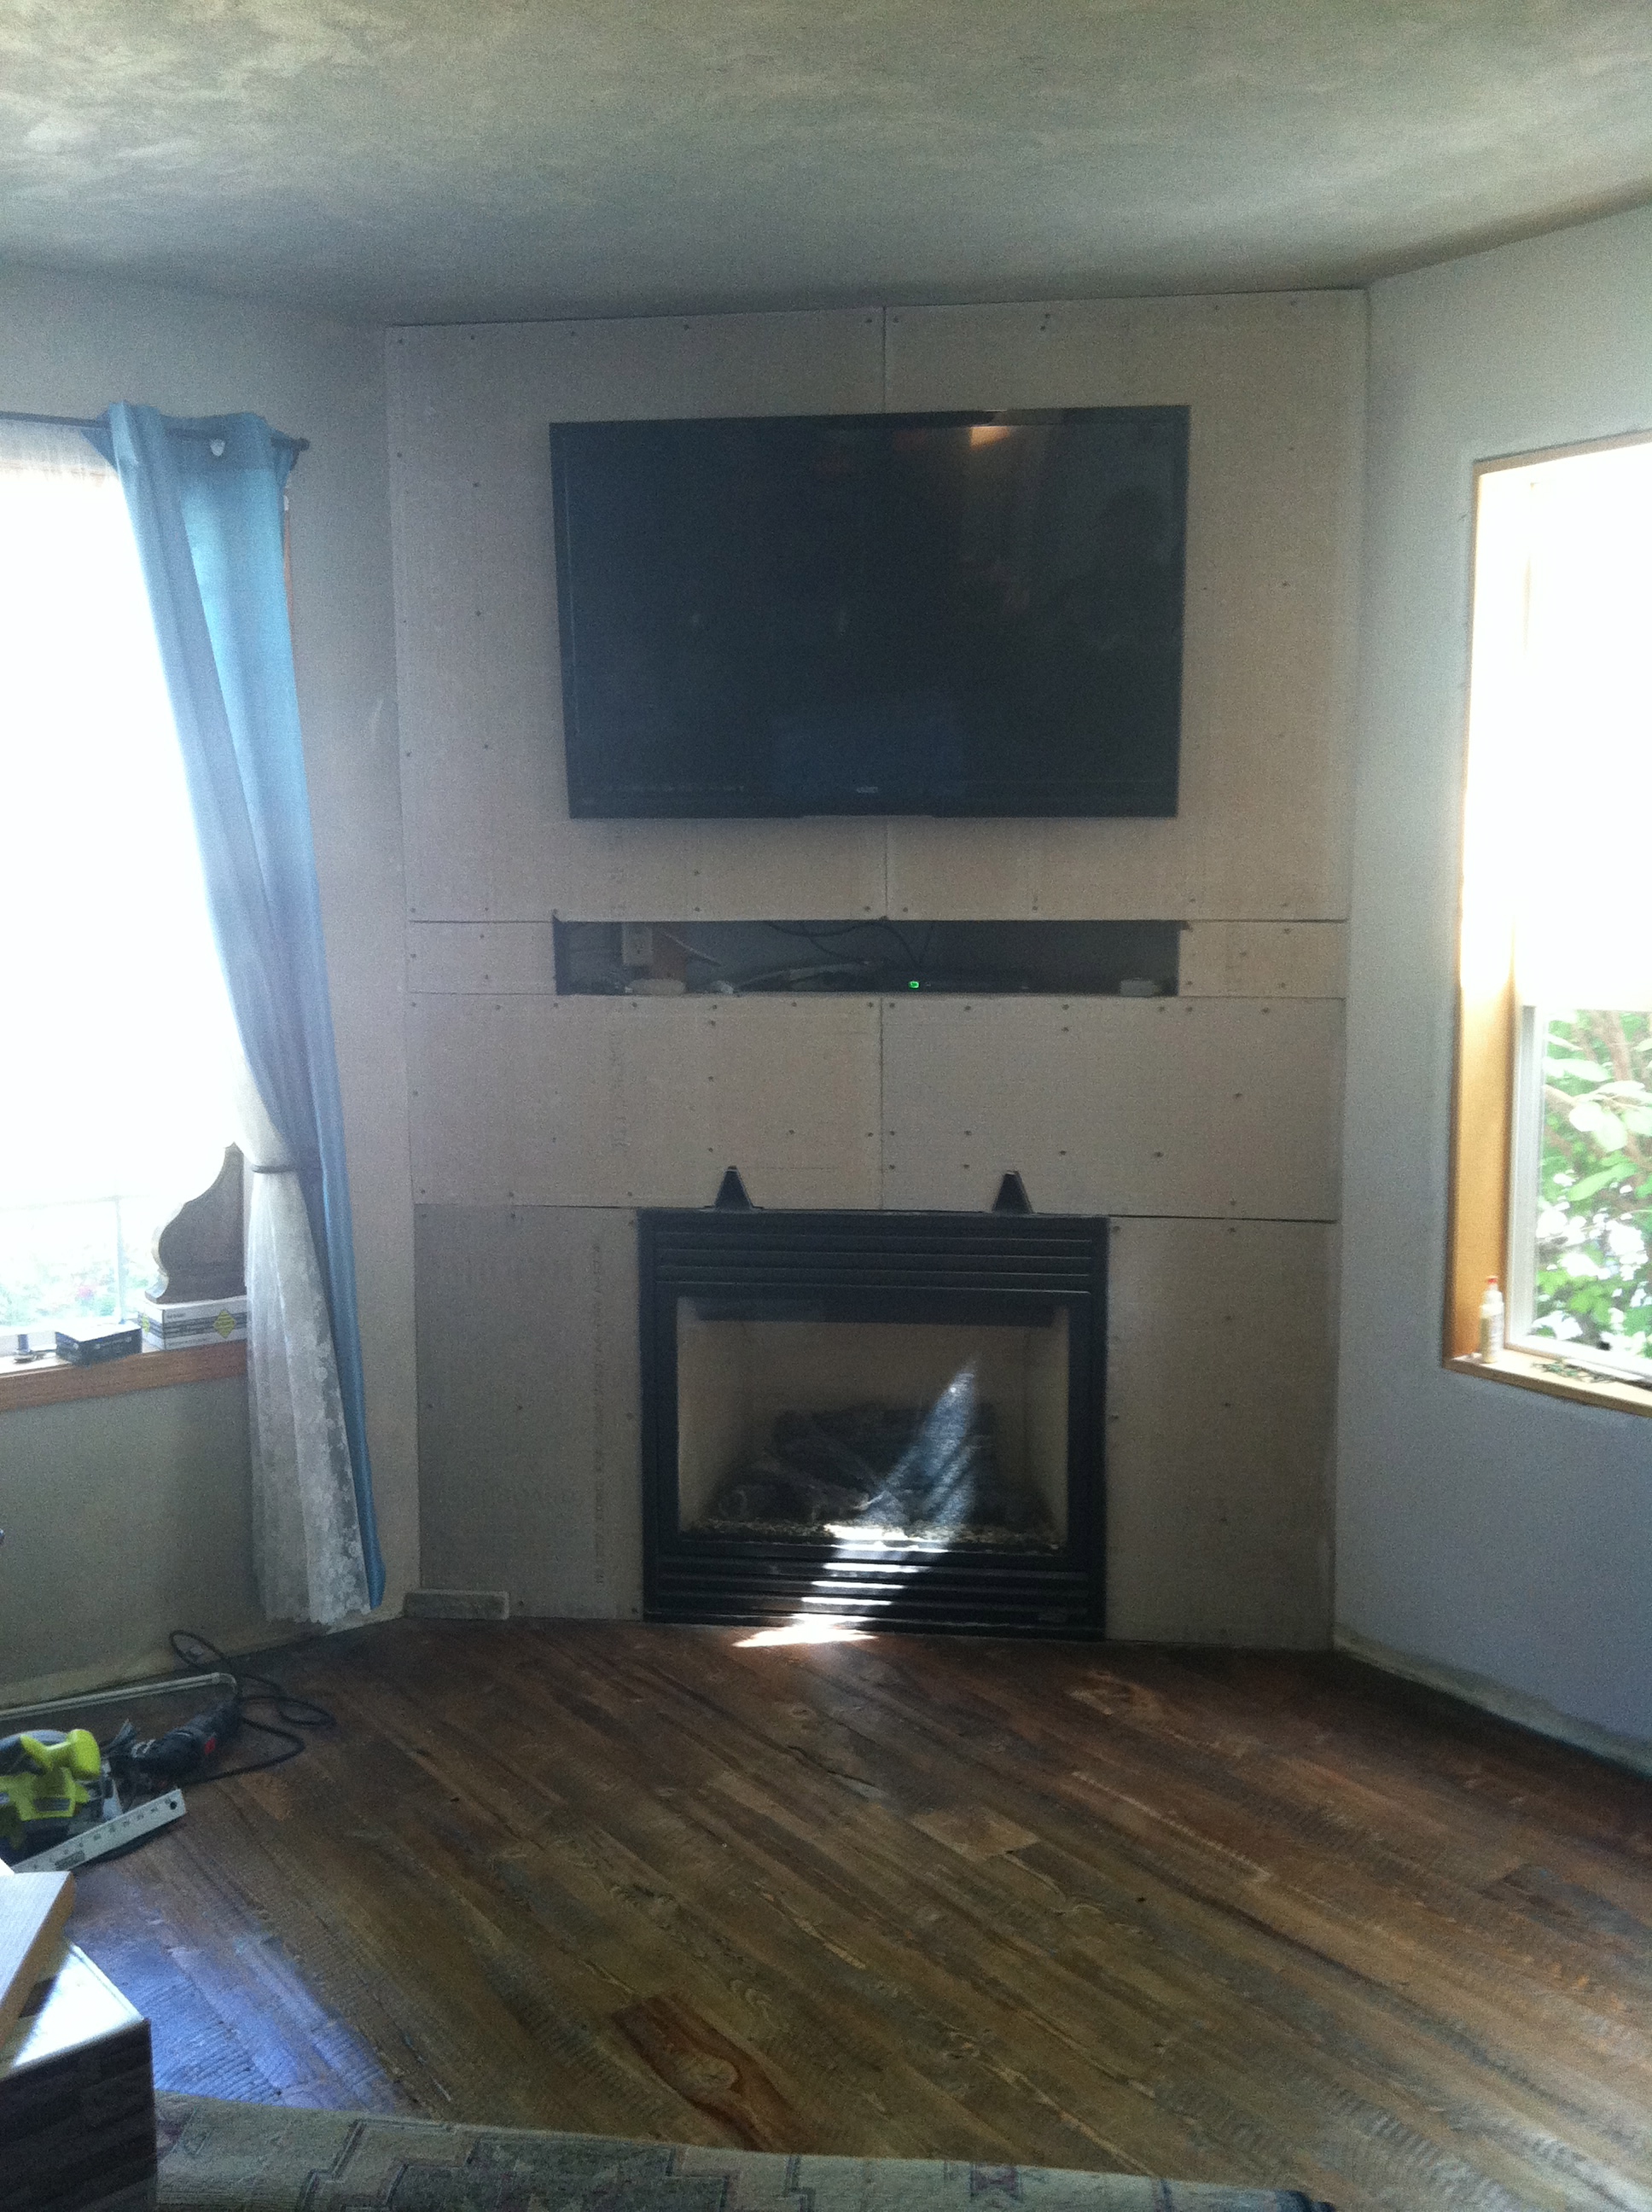
When we started our kitchen project last fall we elected to put continuous wood flooring throughout the kitchen, living room and hallway. As part of this project, Gary had to demo the hearth on the fireplace. The original face was slate which got damaged during the demo of the hearth so next thing I knew, Gary had ripped off all the slate.
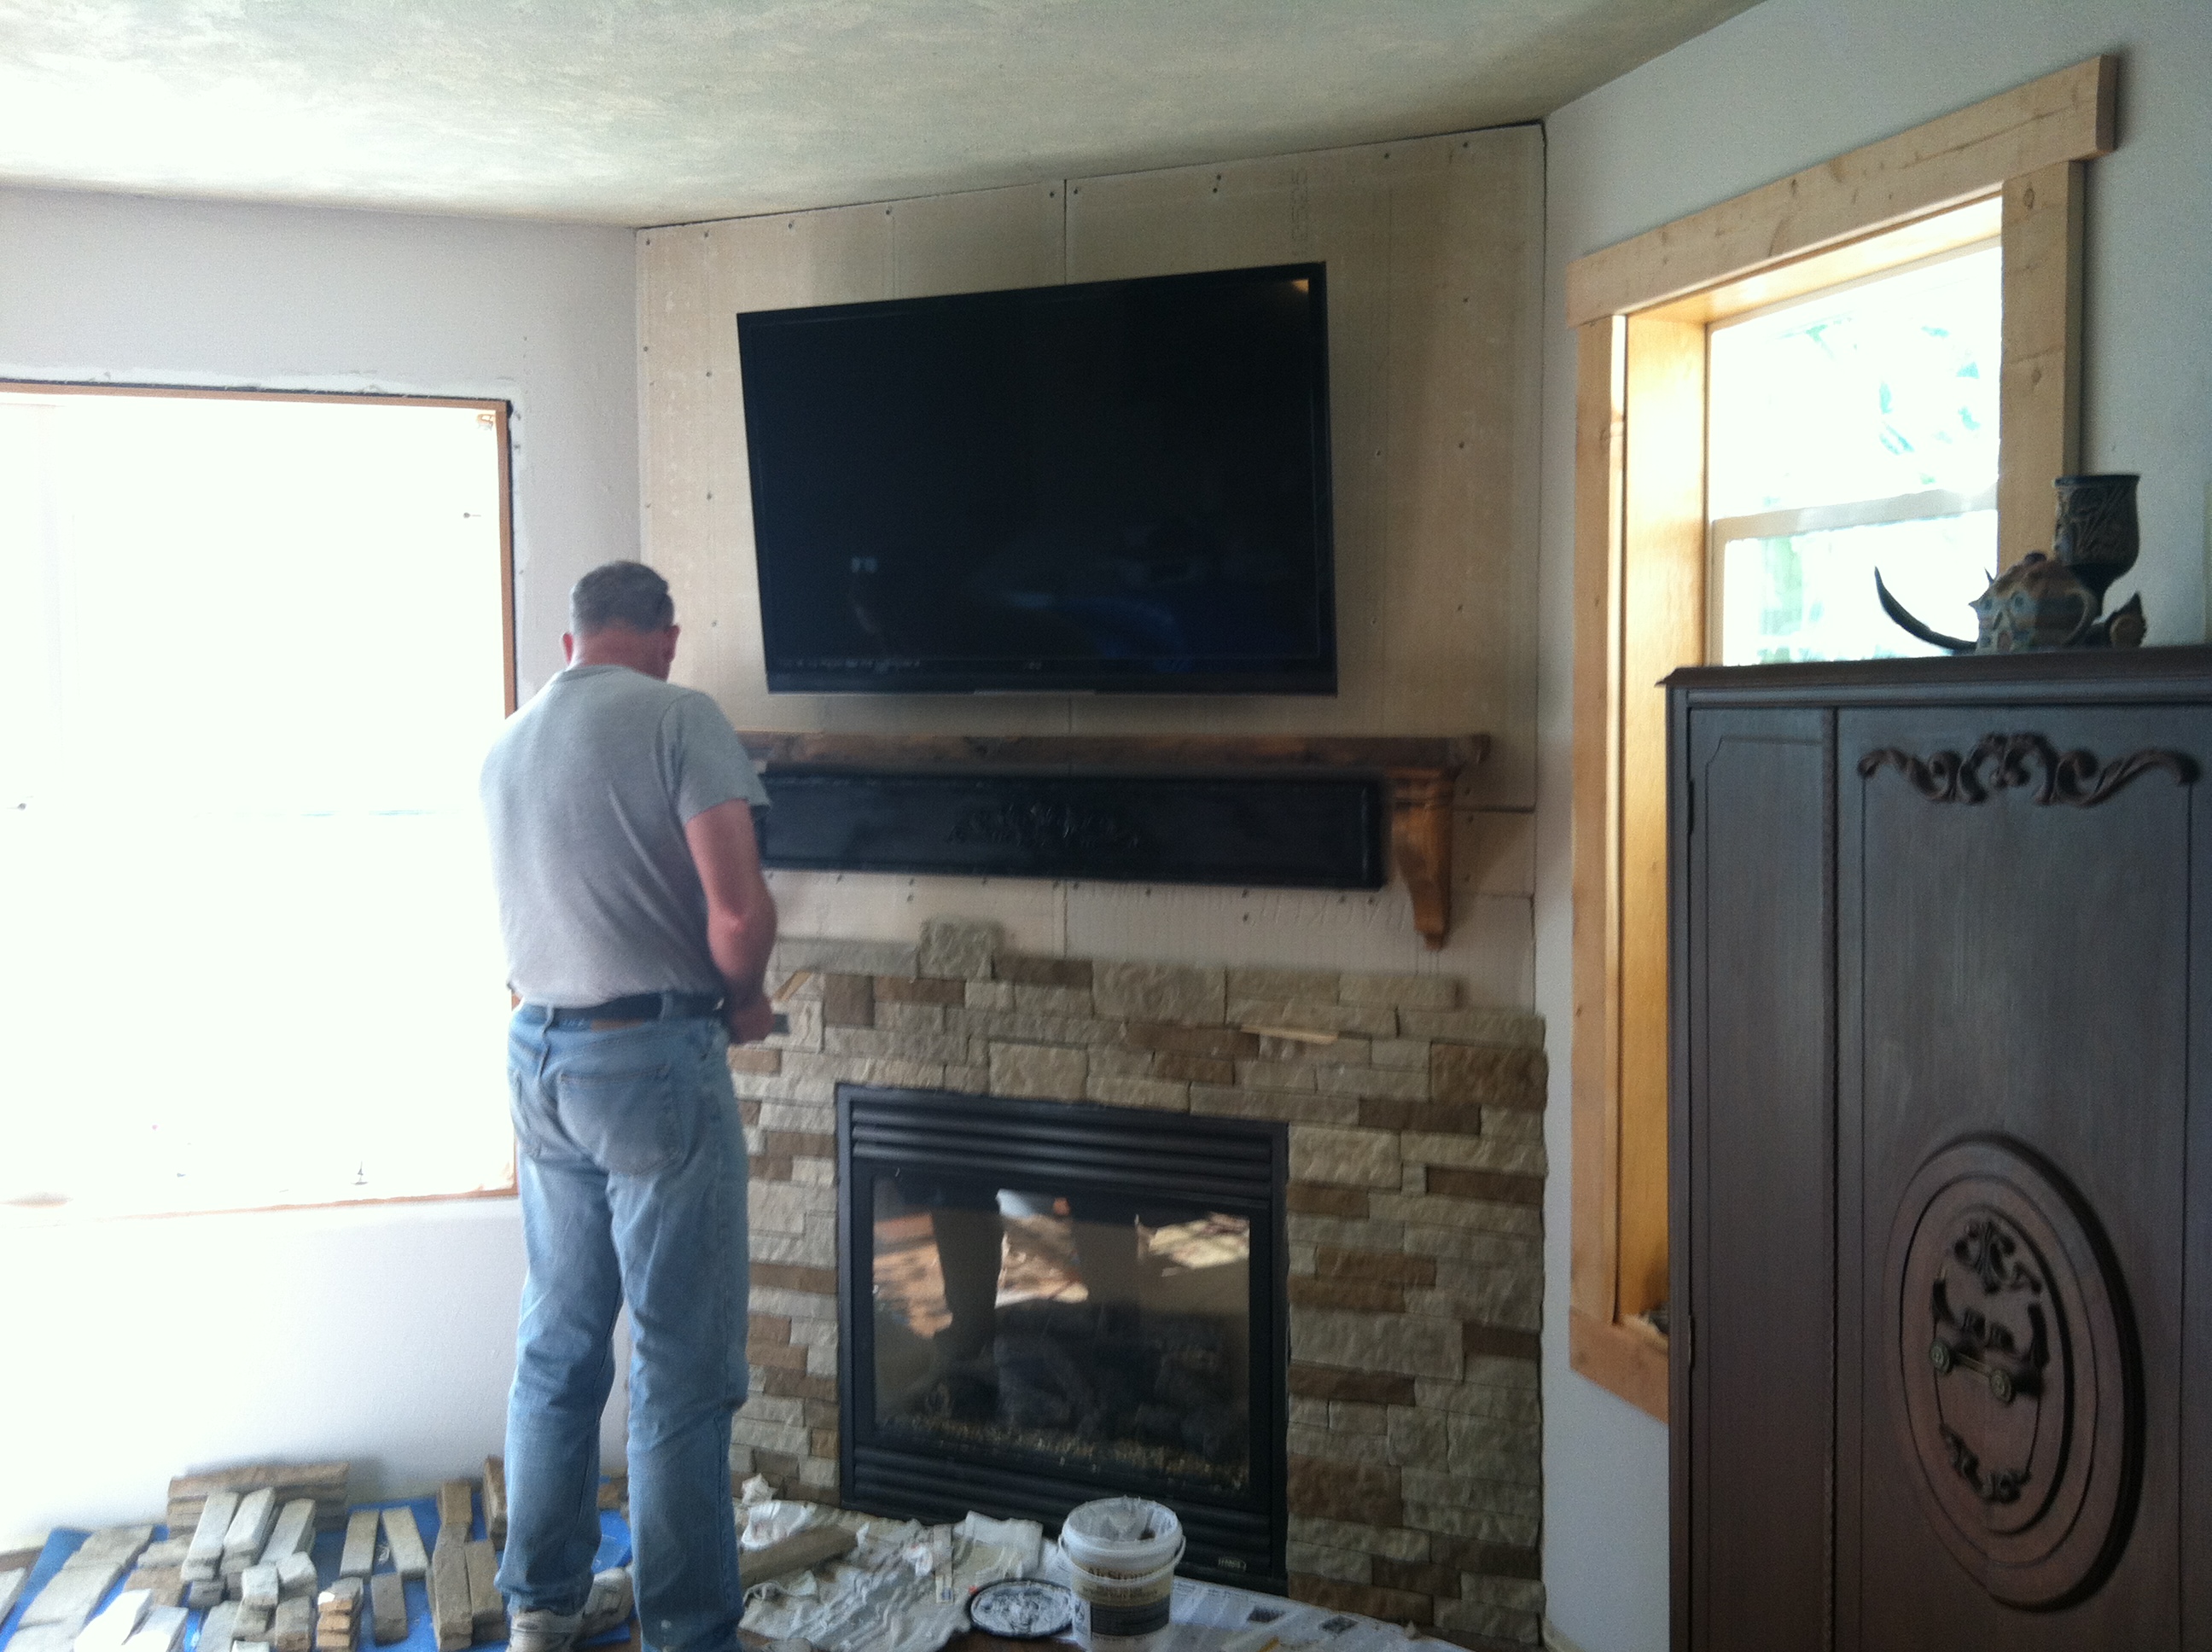
Since winter set in pretty quickly we lived the rest of the winter with a faceless fireplace. Even with the garage heat on, it is too cold to use a wet tile saw in the winter in Montana, so we waited for warmer weather. We knew we wanted to do a rustic rock on the face of our fireplace, we do live in Montana. When we were out shopping we discovered Air Stone at Lowes, which we took an immediate interest in. It seemed easy to install and it was made in the USA, which is right up our alley. We measured and decided we would need nearly 4 cases of the stone, we brought it home and got to work.
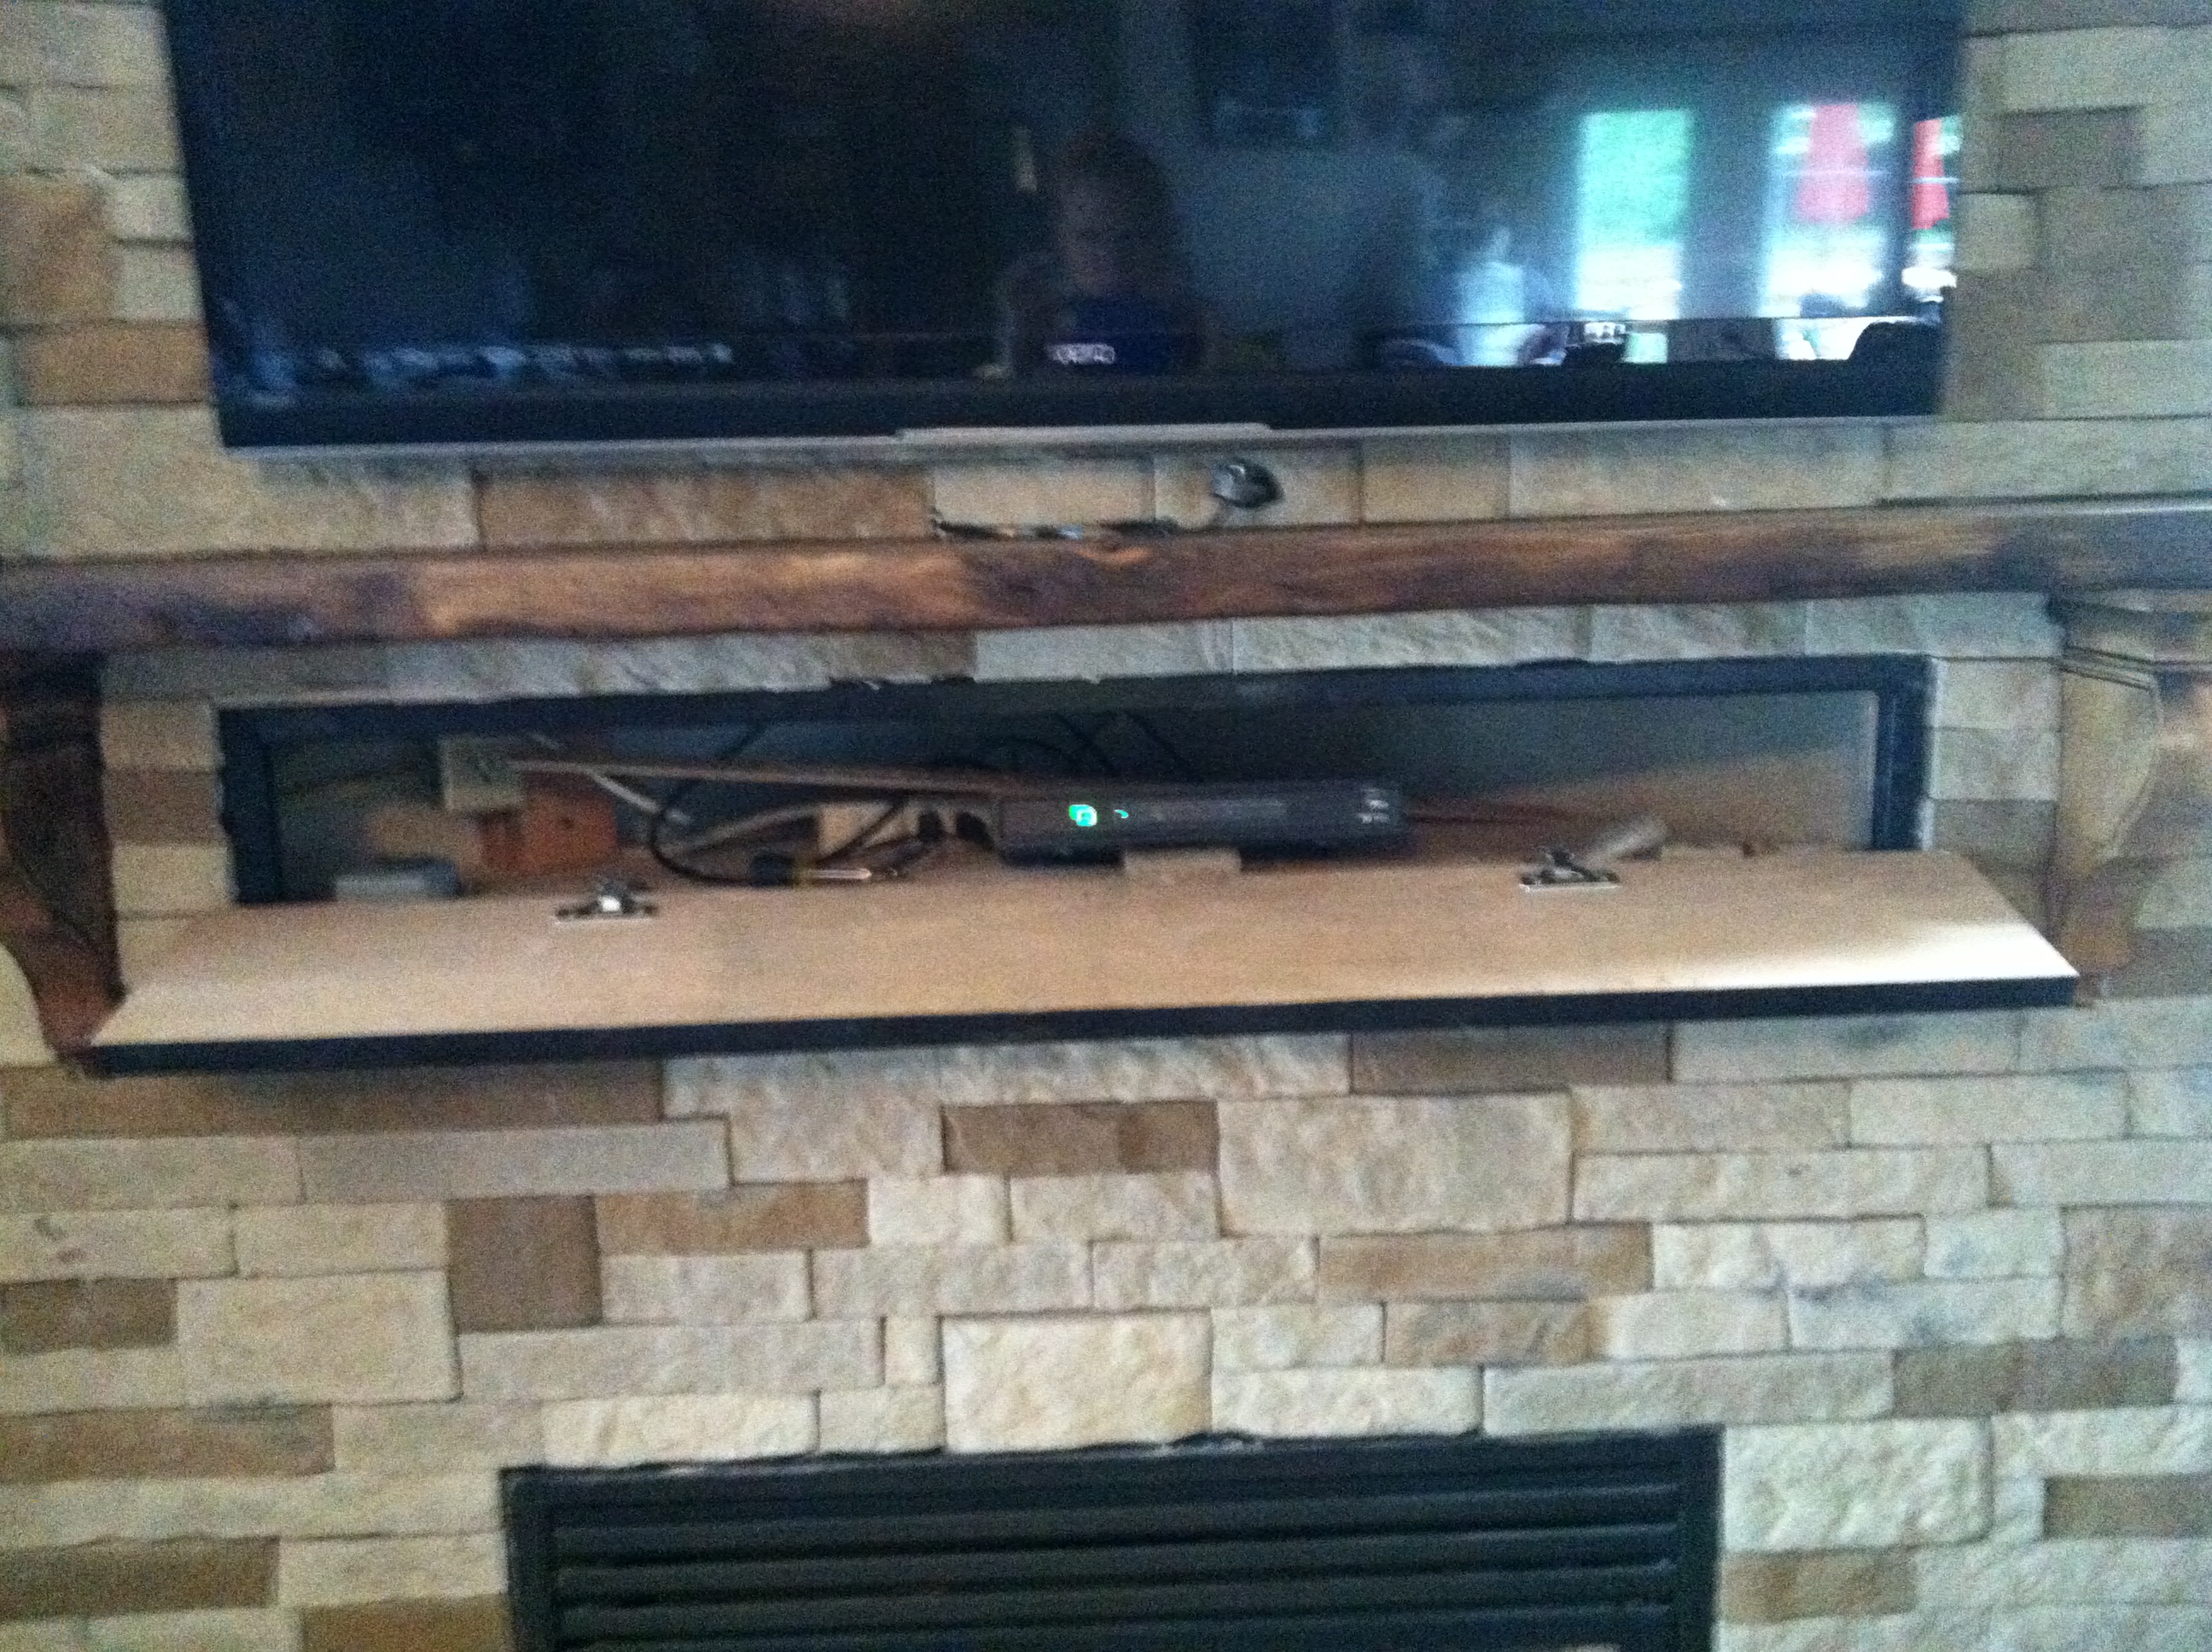
As per the instructions this stone can be applied to just about any surface. Most of our fireplace surface was already a hardi backer type board, so we continued that across the entire front of the fireplace. I am very pleased to report that the air stone was very easy to apply and you will see from the pictures below that it looks very realistic and professional.
The instructions say that you can cut the stone with a hacksaw, which works, but I found that to be too time consuming for a large project. I used a wet tile saw. If you don’t have one, rent one or borrow one, they are very easy to use and make tile and in this case rock, very easy to cut.
If you want the look of authentic stacked stone but you want to save a boat load of money by doing it yourself, I highly recommend Air Stone.
Contributed by guest blogger Jean Marie Stanberry-Kingsmuir Press Author “Laying Low In Hollywood”, “One World United”, The Illusion of Order”, “Blood, Sweat and Fears”.
jeanstanberry.com @jeanstanberry